How Fiber Optic Cables are Installed
How Fiber Optic Cables are Installed: Step-by-Step Guide Nairobi, Kenya.
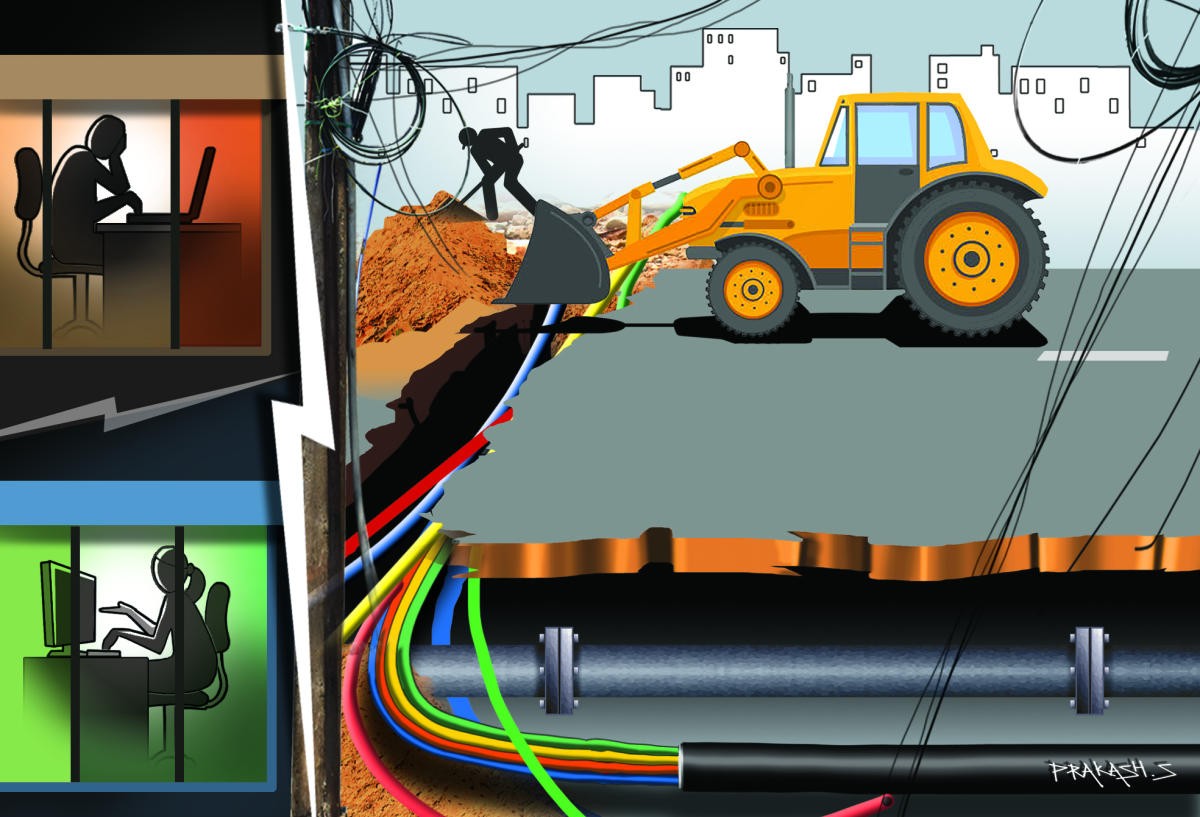
Fiber Optic Cables are used for high-speed data transmission and telecommunications, offering faster and more reliable connectivity than traditional copper cables. Installing fiber optic cables requires a specialized set of skills and tools. Fiber optics installation is a part of A Fiber Local Area Network (LAN) or Metropolitan Area Network (MAN)Network Setup. Here is a step-by-step guide on how fiber optic cables are installed:
- Pre-Installation Planning: The first step is to plan the installation process. This includes assessing the location, determining the required length of the Fiber cable, and identifying the necessary tools and equipment for the job. Check best and Affordable Adss Fiber Optics Cables at our online store or visit our offices at Mombasa Road, Nairobi Kenya.
- Fiber Optic Cable Preparation: Before installing the cable, it must be prepared for the installation process. This includes stripping the outer jacket of the cable, removing any strength members, and cleaning the ends of the Fiber Optic Cables to ensure that there is no dirt or debris.
- Installing the Fiber Optic Cables: The next step is to install the fiber optic cable. This involves pulling the cable through conduits, ducts, or cable trays, depending on the location and the type of installation. For aerial installations, the cable may be installed using a cable lashing machine or by hand. The installation process requires the use of Accessories like Tension Clamps, J-Hook Suspension Clamp for ADSS Cable and Pigtail Clamp among other Fiber Optic Accessories.
- Splicing and Terminating the Fiber Optic Cable: Once the fiber optic cable has been installed, it must be spliced and terminated to connect it to the network. Splicing involves joining two optic cable cores together using a fusion splicer or mechanical splicer. Terminating involves connecting the fiber optic cable to a connector or adapter.
- Testing the Fiber Optic Cable: After splicing and terminating the fiber optic cable, it must be tested to ensure that it is working properly. This involves using a specialized testing device, such as an optical time-domain reflectometer (OTDR) or a power meter, to measure the quality of the signal and check for any issues.
- Final Inspection and Documentation: Once the fiber optic cable installation and testing is complete, a final inspection should be performed to ensure that everything is in working order. Documentation should also be created to record the installation process, including any issues encountered, equipment used, and test results.
Overall, installing fiber optic cables requires specialized tools and knowledge. It is best to consult with a professional who has experience in fiber optic cable installation to ensure a successful installation. At CP Cables, we have experts who can guide you and help you budget for your fiber network infrastructure. You can email us at sales@cpcables.co.ke to purchase best Fiber Optics Products at Affordable prices.
Learn more about Fiber Optic Cables: The Future of Data Transmission in Kenya in our other post.
560
0
774
172


Contact Info
- Address: CP Cables Limited | Mombasa Road, Next to Panari Hotel
- Phone: 0708 584883 | 0800 721343
- Email: sale@cpcables.co.ke