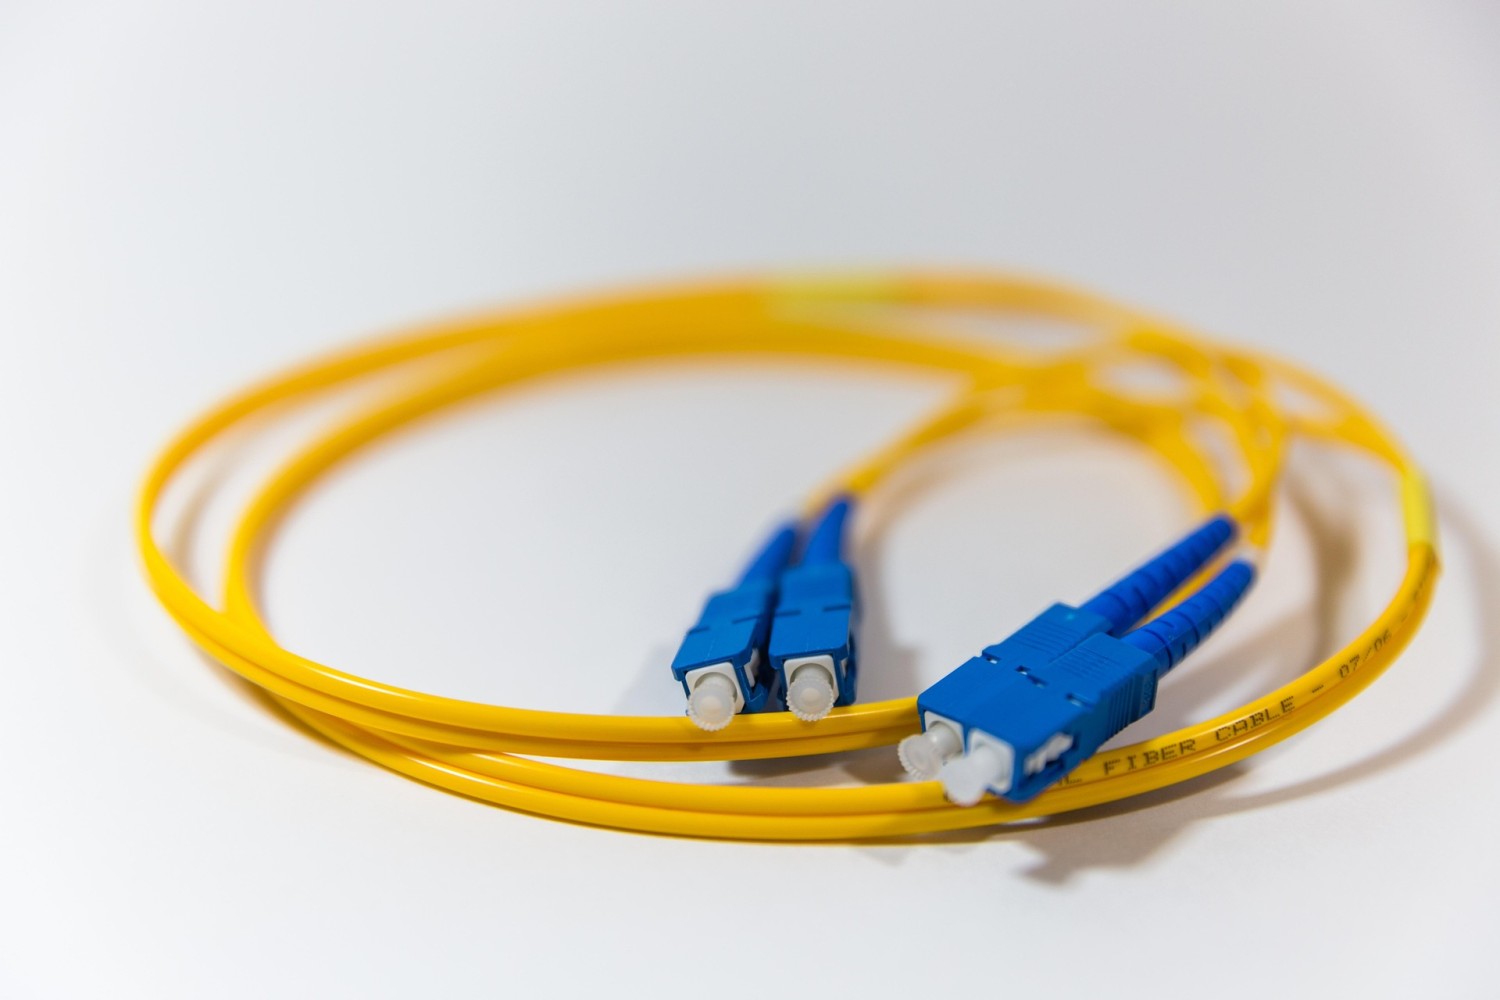
How to Effectively Clip Your Cat 6 Cable Using RJ45
Setting up a reliable Ethernet connection starts with properly clipping your Cat 6 cable using an RJ45 connector. Whether you're wiring a home network or handling office connections, doing this task effectively ensures optimal data transfer and minimizes connectivity issues. Here's a step-by-step guide to help you clip your Cat 6 cable like a pro.
1. Understanding Cat 6 and RJ45
- Cat 6 Cable: A high-speed Ethernet cable designed for Gigabit Ethernet and other network applications. It supports up to 10Gbps over short distances (55 meters or less).
- RJ45 Connector: The standard connector for Ethernet cables. It's an 8-position, 8-contact (8P8C) connector used to terminate twisted pair cables.
2. Tools and Materials Needed
Before you begin, gather the following tools:
- Cat 6 cable
- RJ45 connectors (ensure they are compatible with Cat 6 cables)
- Crimping tool
- Wire stripper or cable jacket cutter
- Cable tester (optional but recommended)
3. Step-by-Step Guide to Clipping Your Cat 6 Cable
Step 1: Strip the Outer Jacket
- Use a cable stripper to remove about 1.5 inches (3-4 cm) of the outer jacket from the end of the Cat 6 cable.
- Be careful not to damage the inner twisted pairs of wires.
Step 2: Untwist and Arrange the Wires
- Inside the cable, you'll find 4 pairs of twisted wires:
- Orange/White & Orange
- Green/White & Green
- Blue/White & Blue
- Brown/White & Brown
- Untwist the pairs and straighten the wires.
- Arrange the wires in the T568B wiring standard order (commonly used):
- Pin 1: Orange/White
- Pin 2: Orange
- Pin 3: Green/White
- Pin 4: Blue
- Pin 5: Blue/White
- Pin 6: Green
- Pin 7: Brown/White
- Pin 8: Brown
Step 3: Trim the Wires
- Hold the wires firmly between your fingers.
- Use wire cutters to trim them evenly to about 0.5 inches (1.3 cm) in length from the jacket.
Step 4: Insert the Wires into the RJ45 Connector
- Hold the RJ45 connector with the clip side facing down.
- Carefully insert the wires into the connector, ensuring each wire goes into its designated slot.
- Push the wires firmly until the cable jacket is inside the connector and the wires reach the end of the connector.

Step 5: Crimp the Connector
- Place the RJ45 connector into the crimping tool.
- Squeeze the crimping tool firmly to secure the connector to the cable.
- Ensure the pins in the connector pierce the wires and make contact.
Step 6: Test the Cable
- Use a cable tester to ensure the wires are properly connected and the cable is functioning correctly.
- If the test fails, recheck the wiring order and repeat the process if necessary.
4. Tips for Success
- Precision Matters: Ensure the wires are in the correct order and fully inserted into the connector before crimping.
- Use Quality Tools: High-quality crimping tools and RJ45 connectors can make the process easier and more reliable.
- Double-Check the Wiring Order: A small mistake in the wiring order can lead to a non-functional cable.
- Avoid Over-Crimping: Excessive force can damage the connector or cable.
Clipping your Cat 6 cable with an RJ45 connector may seem intimidating, but with the right tools, materials and attention to detail, it’s a straightforward task. Properly terminated cables ensure stable and high-speed network connections, making this skill invaluable for both DIY enthusiasts and IT professionals.
By following these steps, you'll be able to create reliable Ethernet connections that meet your networking needs.
7184
0
413
171

