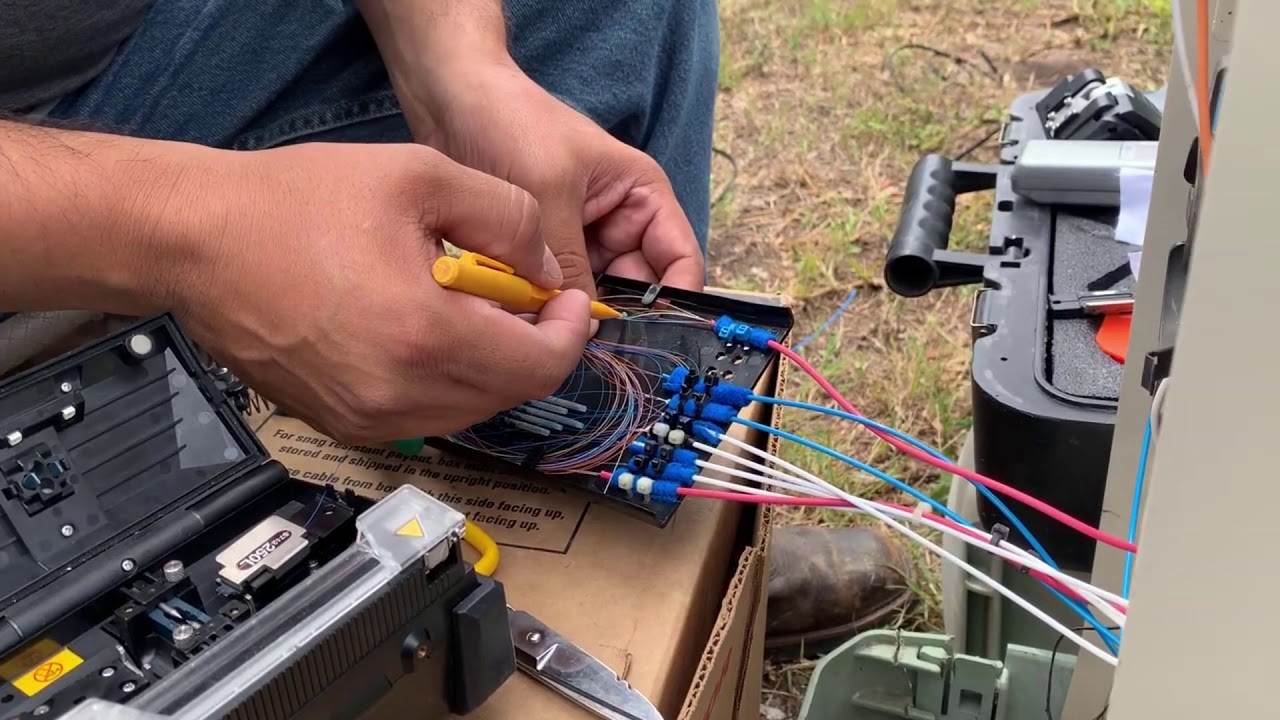
How to Install an Outdoor drop cable
INSTALLING THE OUTDOOR DROP CABLE.
Plan the route: Determine the path that the cable will take from the source to the destination. Consider any obstacles that may be in the way and plan accordingly.
Gather the necessary tools: You will need a drill, a hammer, a cable cutter, a screwdriver, and cable clips.
Install a cable entry point: Drill a hole into the building where the cable will enter. Seal the hole with silicone sealant to prevent water from entering.
Install cable clips: Attach cable clips to the building at regular intervals along the cable route. This will help to secure the cable and prevent it from moving around.
Attach the cable: Using a cable cutter, cut the cable to the appropriate length and attach it to the building using cable clips. Be sure to leave some slack in the cable to account for any movement.
Attach the connector: Attach the connector to the end of the cable. This will allow you to connect the cable to the source.
Test the connection: Test the connection to ensure that it is working properly.
Seal the connection: Once you are sure that the connection is working properly, seal it with silicone sealant to prevent water from entering.
Secure the cable: Finally, secure the cable to the building using cable clips.
C P CABLES DOES NOT DO INSTALLATION OF THESE CABLES OR ANY INTERNET EQUIPMENT. WE DEAL WITH SELLING THE PRODUCTS ONLY. THE BLOGS ON INSTALLATION ARE JUST A GUIDE. THANK YOU FOR YOUR BUSINESS!
805
0
753
172

