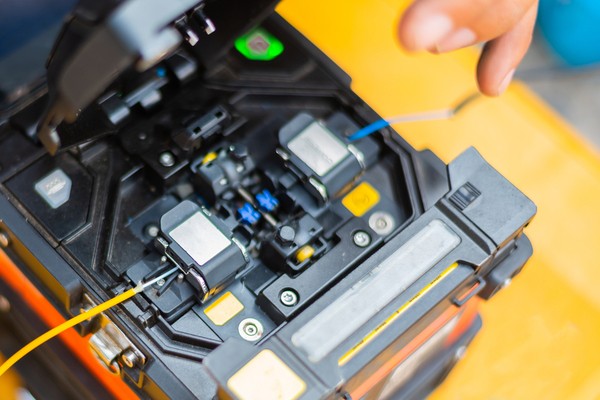
How to Splice a FIBER OPTIC CABLE.
Here are the steps for splicing a fiber optic cable:
1. Gather the necessary tools and materials. In addition to a fusion splicer, you will need a fiber stripper, a fiber cleaver, alcohol wipes, and a heat shrink sleeve. It is also important to have a clean and well-lit workspace, as dust and debris can interfere with the splicing process.
2. Strip the fiber. Use the fiber stripper to remove the protective coating from the end of the fiber, leaving about 2-3cm of bare fiber exposed. Be careful not to scratch or damage the fiber.
3. Clean the fiber. Use an alcohol wipe to clean the exposed end of the fiber. This will remove any dirt or oil that could interfere with the splicing process.
4. Cleave the fiber. Use the fiber cleaver to create a clean, perpendicular cut on the end of the fiber. The cleaver should be set to the appropriate length for the splice, which will depend on the type of fusion splicer being used.
5. Load the fiber into the fusion splicer. Place the cleaved end of the fiber into the splicer's fiber holder, making sure it is properly aligned and secured.
6. Prepare the second fiber. Repeat steps 2-4 for the second fiber that will be spliced.
7. Load the second fiber into the fusion splicer. Place the cleaved end of the second fiber into the splicer's fiber holder, making sure it is properly aligned and secured.
8. Align the fibers. The fusion splicer will use a built-in microscope to align the two fibers. The fibers should be aligned so that their cores are perfectly aligned with each other.
9. Perform the splice. Once the fibers are aligned, the fusion splicer will use an electric arc to melt the ends of the fibers together. The melted fibers will then be fused together to create a strong, low-loss connection.
10. Check the splice. After the splice is complete, check the splice with the splicer's built-in microscope to ensure that the fibers are properly aligned and fused together. If the splice is not successful, repeat the splicing process.
11. Protect the splice. Once the splice is complete, slide a heat shrink sleeve over the splice and use a heat gun to shrink the sleeve around the splice. This will protect the splice from damage and help to prevent moisture from getting into the connection.
12. Test the splice. After the splice is complete and protected, use a fiber optic power meter and light source to test the connection. This will ensure that the splice is functioning properly and that there is minimal loss in the connection.
512
0
757
172

